Showing posts with label photo props. Show all posts

Monday, September 12, 2011

Footstool Makeover


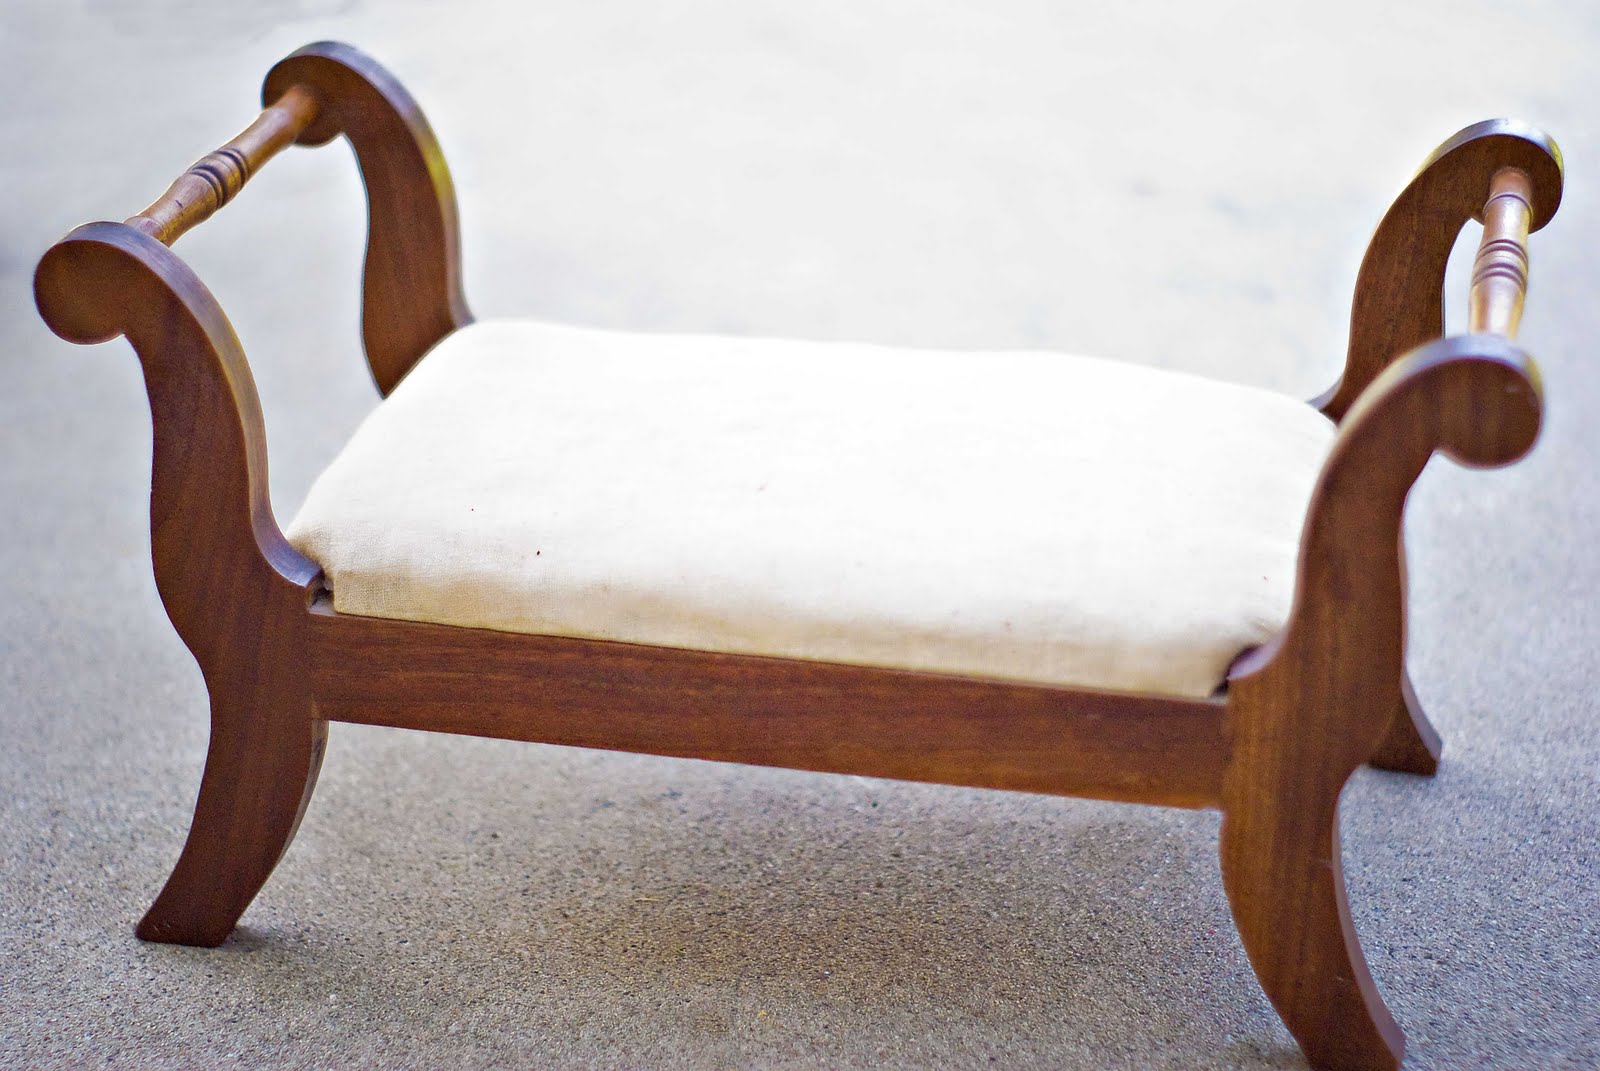
Over the summer the kids and I made the long 900 mile drive up to Oregon so we could visit my family.  While there I took advantage of the numerous thrift stores available to those lucky Oregonians (it really isn't fair--I have one measly little Goodwill down here.) Anyway, I found this footstool at a thrift store for $3.99 and thought it had good photo prop potential.  So I happily paid for it and packed it away in the van for the drive back home.


I finally got around to transforming this ugly duckling of a footstool the other day.  I made a fun discovery while taking apart the seat portion.  It was padded with shreds and shreds of old newspaper from the 1950s!  How cool is that?  I got to try and piece together little advertisements like "gloves for $0.77" and "plaid shirts for $1.34". My favorite one was for "Rayve" permanent for your hair.  The movie show times were fun to look at... although the only movie I recognized was Disney's "Treasure Island".


Anyway, back to the footstool. I took it apart then sanded and painted the wood frame.  I decided to give it a distressed look.  Then I recovered the seat with some Amy Butler lovliness.  This is from the Midwest Modern collection.  Love her fabrics.


Using the staple gun made this a breeze.  Then attach the seat back onto the frame with screws and DONE!


This one really was easy peasy pie.
And guess who uses it to reach the play kitchen?


She loves being able to reach the sink and stove now.


Here's one last before and after!


Happy crafting!

Tuesday, March 29, 2011

Backdrop Stand

Do you like to take pictures?  Me too.  Do you have a gorgeous house with gorgeous floors and modern walls?  I don't either.  But I have found the solution!  A totally affordable, mobile backdrop frame!  With just a few items from your local Home Depot or Lowes and for about $15, you can have one, too.  The best part?  You can completely disassemble it and store it away.  Check out how to make one here

I modified mine a bit so I could have the baseboard, too.  The fabric just hangs down, is pulled taut inbetween a baseboard and regular 1 x 4 board and clamped together.  My "floor" is a bamboo rug I purchased here.  I love it since I can roll it up and store it wherever.  My "wall" is a tablecloth I found on clearance at Target (I hadn't ironed it yet, as you can see).


Now I can take beautiful photos in what appears to be my fancy-shmancy house.  


Wait a second... did we switch rooms??  Nope!  Just backdrops and floors. The floor in this photo is actually a roll of paper purchased here (although if you're lucky you may be able to find it at your local Michaels or Joann stores in their "teacher supplies" section -- I recently found another roll at JoAnn for about $8.00) and the wall is about 3 yards of fabric from JoAnn. I would recommend a hard surface under the roll of paper so it doesn't bend and ripple. I just roll it out over my bamboo rug and it seems to work just fine. 

With just a few minutes worth of work I can have a completely different look. The combinations are endless! Isn't it great?  Now go make one for yourself and have fun fooling everyone, too!

Happy crafting!

EDIT: I've had a lot of questions about how to add the baseboard to the backdrop. It's really easy! Think of it as "sandwiching" your fabric between a baseboard and a regular board and then clamping it tight on the sides. Just make sure that your regular board is about the same width as your baseboard.


See all the extra fabric on the floor behind the backdrop? That's a good thing! Once your boards are clamped, pull all that extra fabric nice and tight! That will help minimize wrinkles. I even like to pull the fabric on the sides to make sure it's super tight. I hope that clears up any confusion! Good luck!

Monday, March 14, 2011

Shabby Chic Baby Bench


Lately I have been fascinated with do-it-yourself photo props and backdrops.  Since I dabble a bit in photography and have a couple of upcoming sessions, I thought I'd try my hand at a few of my own photo props.

Flickr is full of gorgeous photos of babies asleep in doll-sized beds, and they are darling!  I wondered how hard it would be to make my own.  But I thought, for practicality's sake, it should probably be something that I'll use for purposes other than photography.  So I built a bench that is Olivia-sized! 

If I had found this awesome plan before beginning my bench I may have considered it...  but then it would probably just sit in the garage between photo shoots.  As it turns out, my little bench cost me about $11 to make so I guess I can't complain.  Maybe someday I'll still build that little bed.  It's super cute.

I started with a section of border fencing I found at Big Lots for $6.  I liked the cute detail on it and thought it would work well for the back of my bench. 


I used some scraps I had laying around for the basic structure (thank goodness for the chop saw and the nail gun!) and built the frame.  I had to buy the wood for the slats which cost me another $5.  A few cuts, screws, nails and wood glue later and I had this.

After filling in the holes and sanding everything down, I painted it white.  I thought about using the paint I had leftover from the play kitchen.  But I decided the bench would be more versatile if I left it white.

I sewed together a little seat cushion from some fabric I already had.  And for a final touch of cuteness, I made a super fun and frilly accent pillow out of old t-shirts (I love re-using stuff!!).


And voila!  Super cute, shabby chic baby bench for photo sessions...


...or whatever!

Happy crafting!